You can follow this kbb or watch on the EmailsAndSurveys YouTube channel
Before you can send a campaign, you need to create an HTML page in the My Pages section of My Desktop.
Step 1
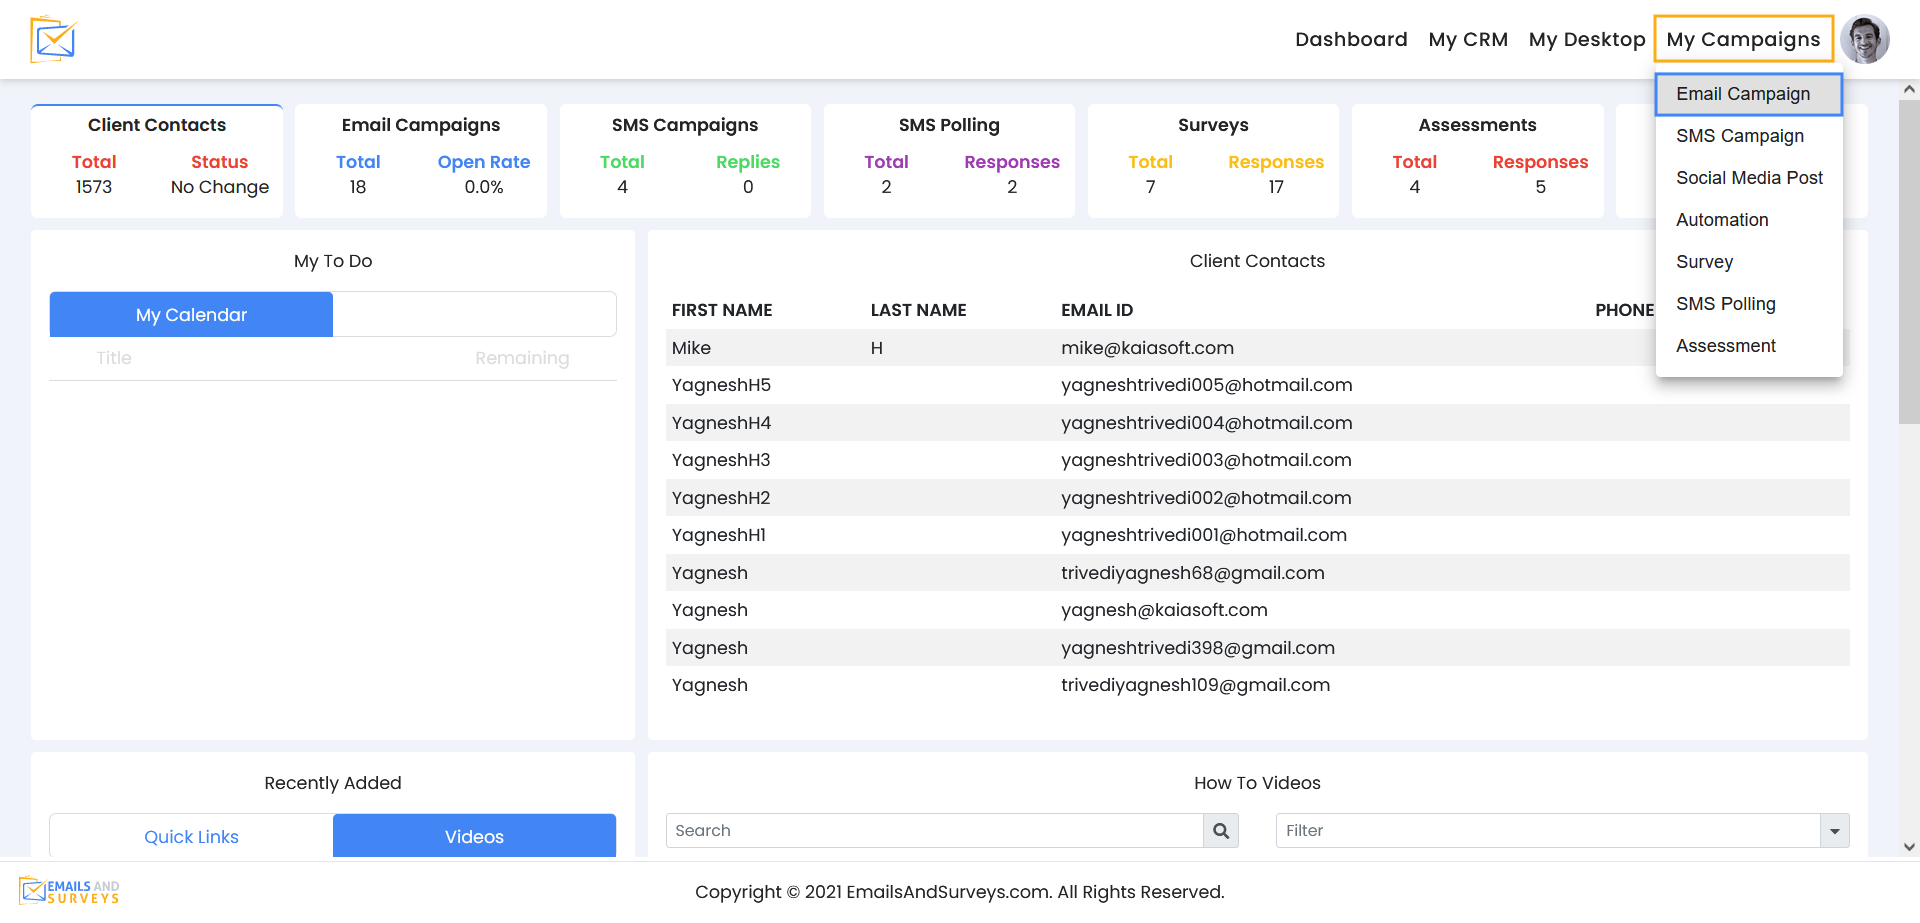
To send your campaign, navigate to My Campaigns > Email Campaign. Here you will see your existing campaign, have the ability to view reports, resend to everyone or resend to those that have not opened the email yet.
Step 2
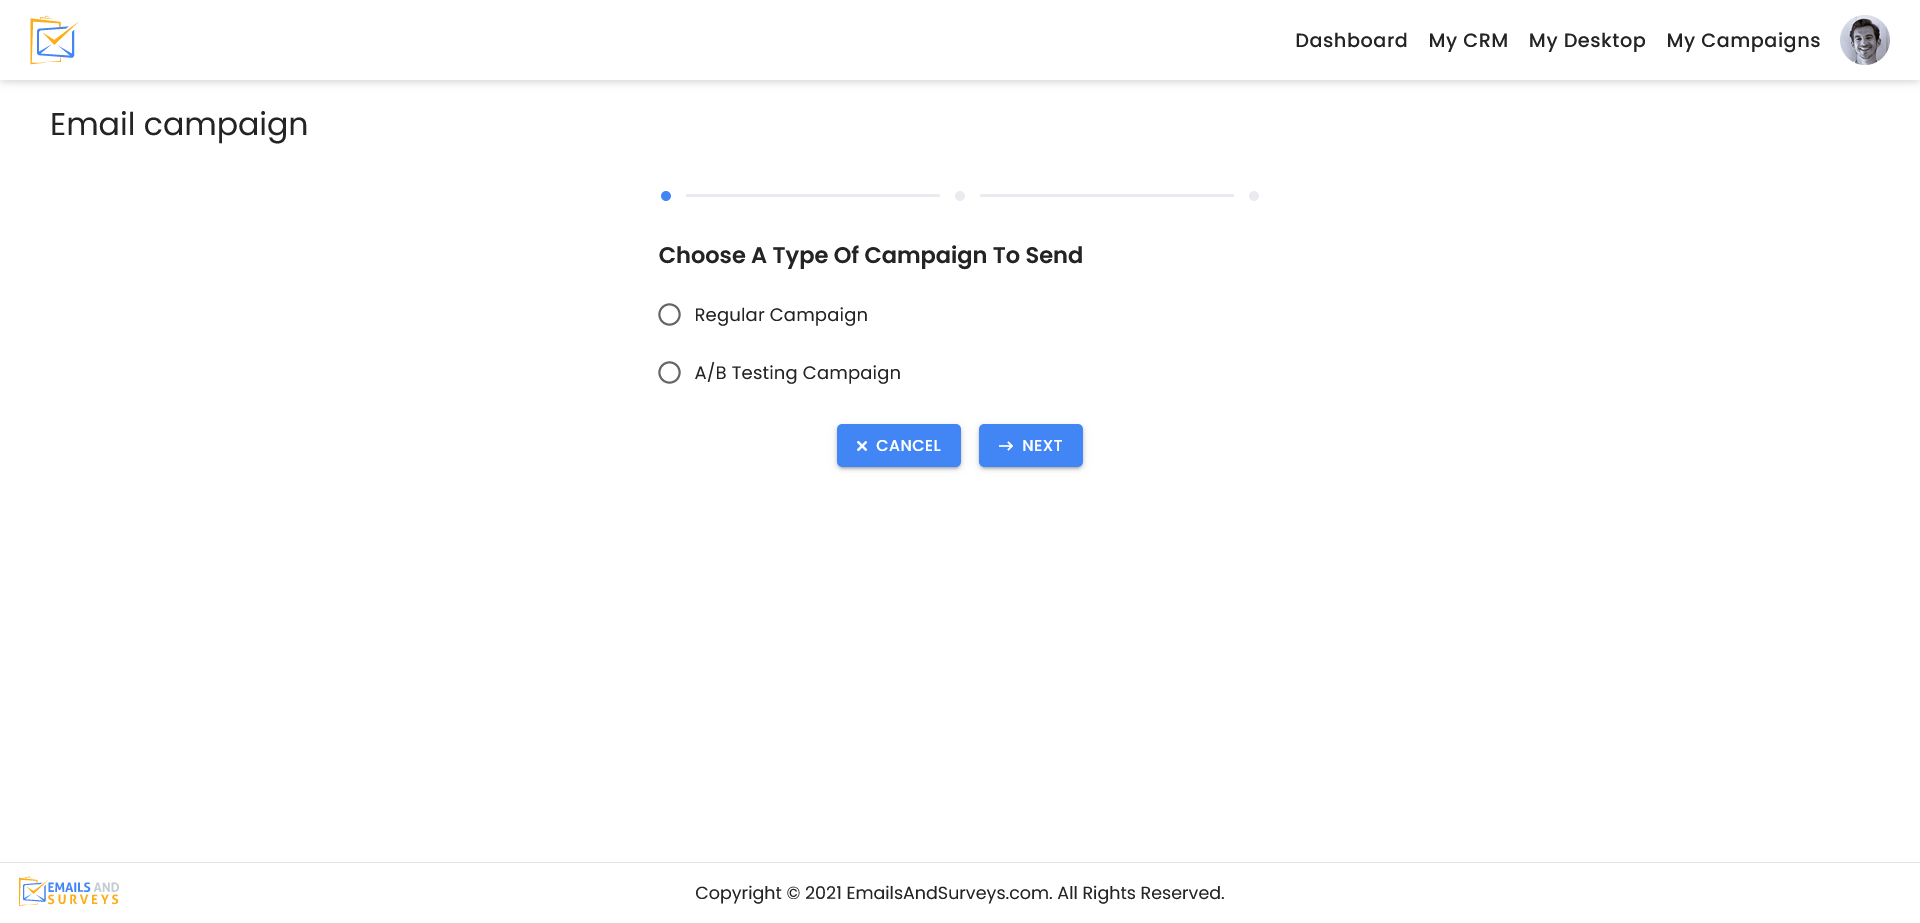
Select if this will be a regular or A/B Campaign. For more information on A/B Campaigns, please see related document
Step 3
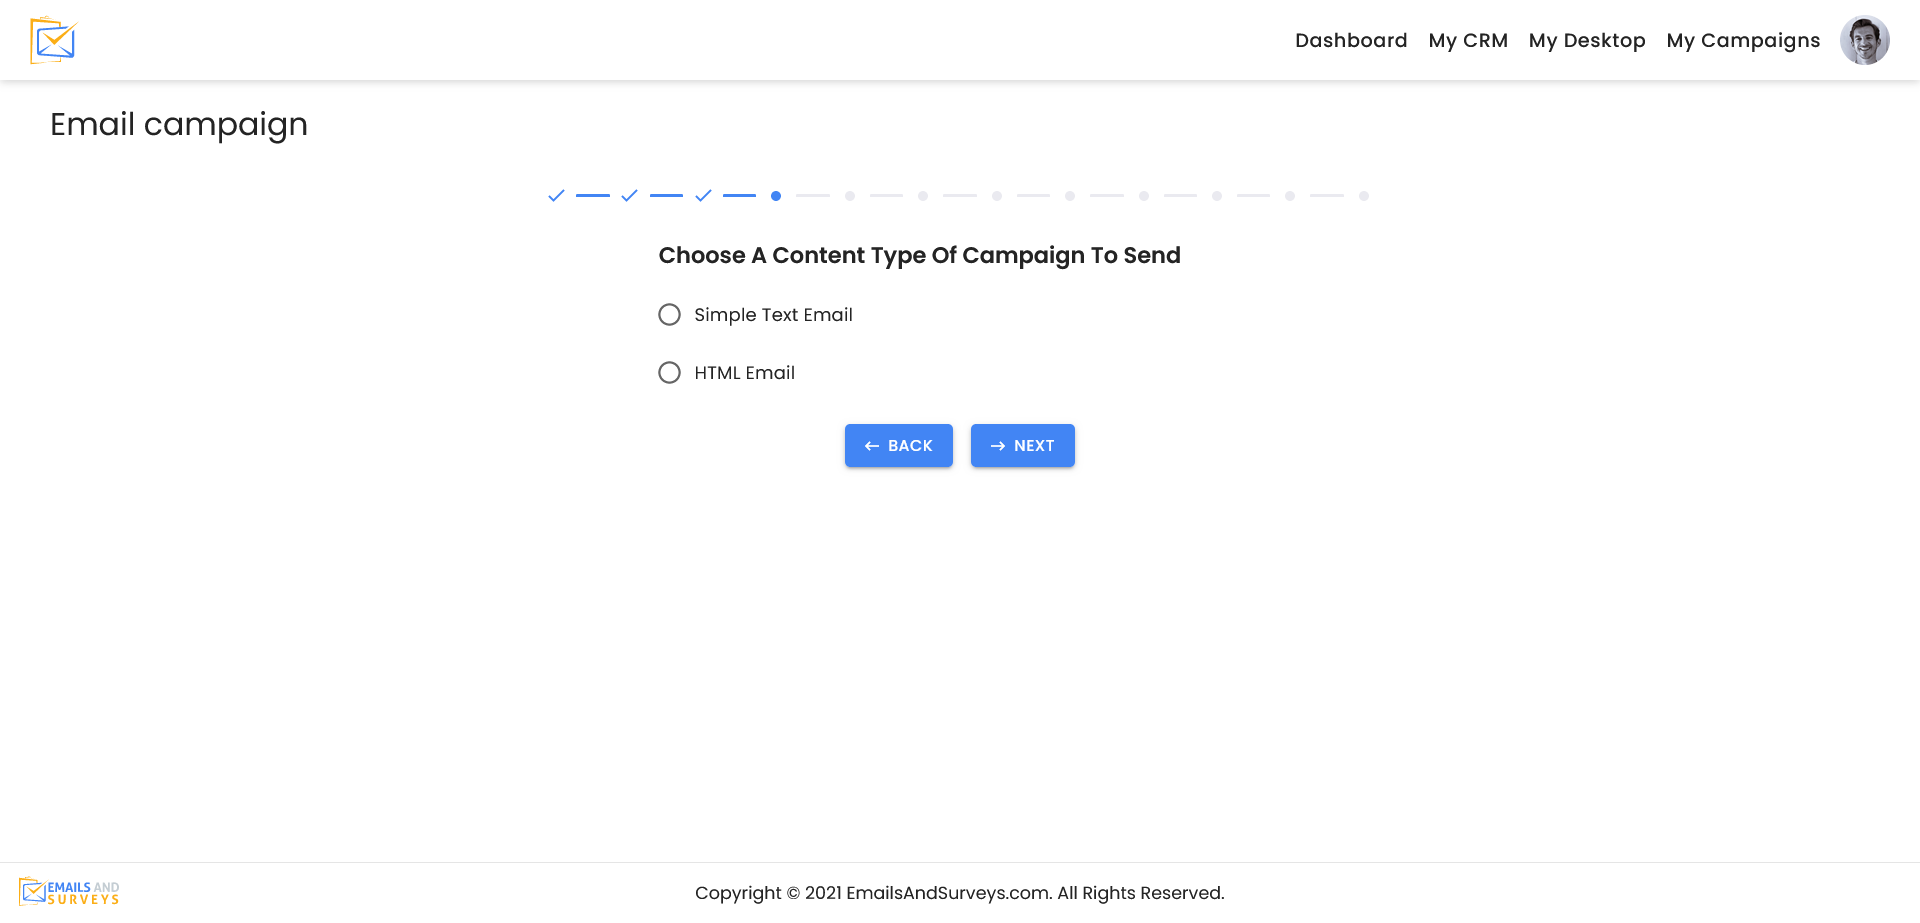
Select if it is a Text or HTML based email.
Step 4
Give your Campaign a Name.
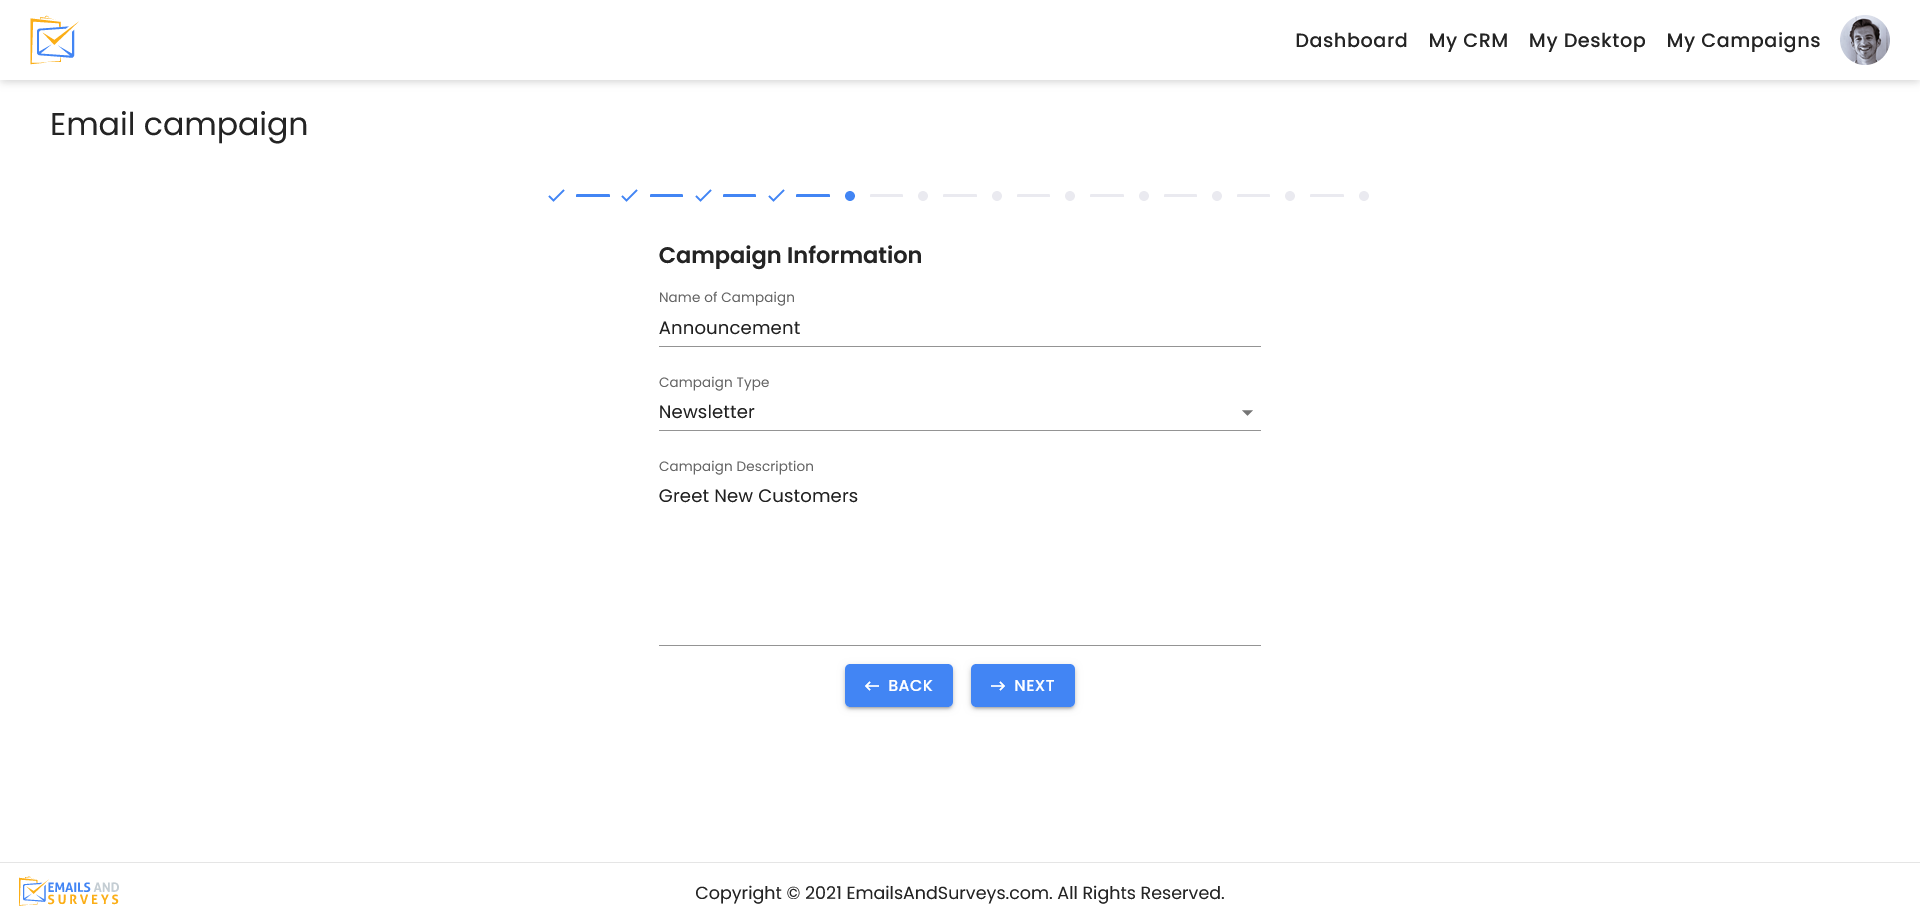
Step 5
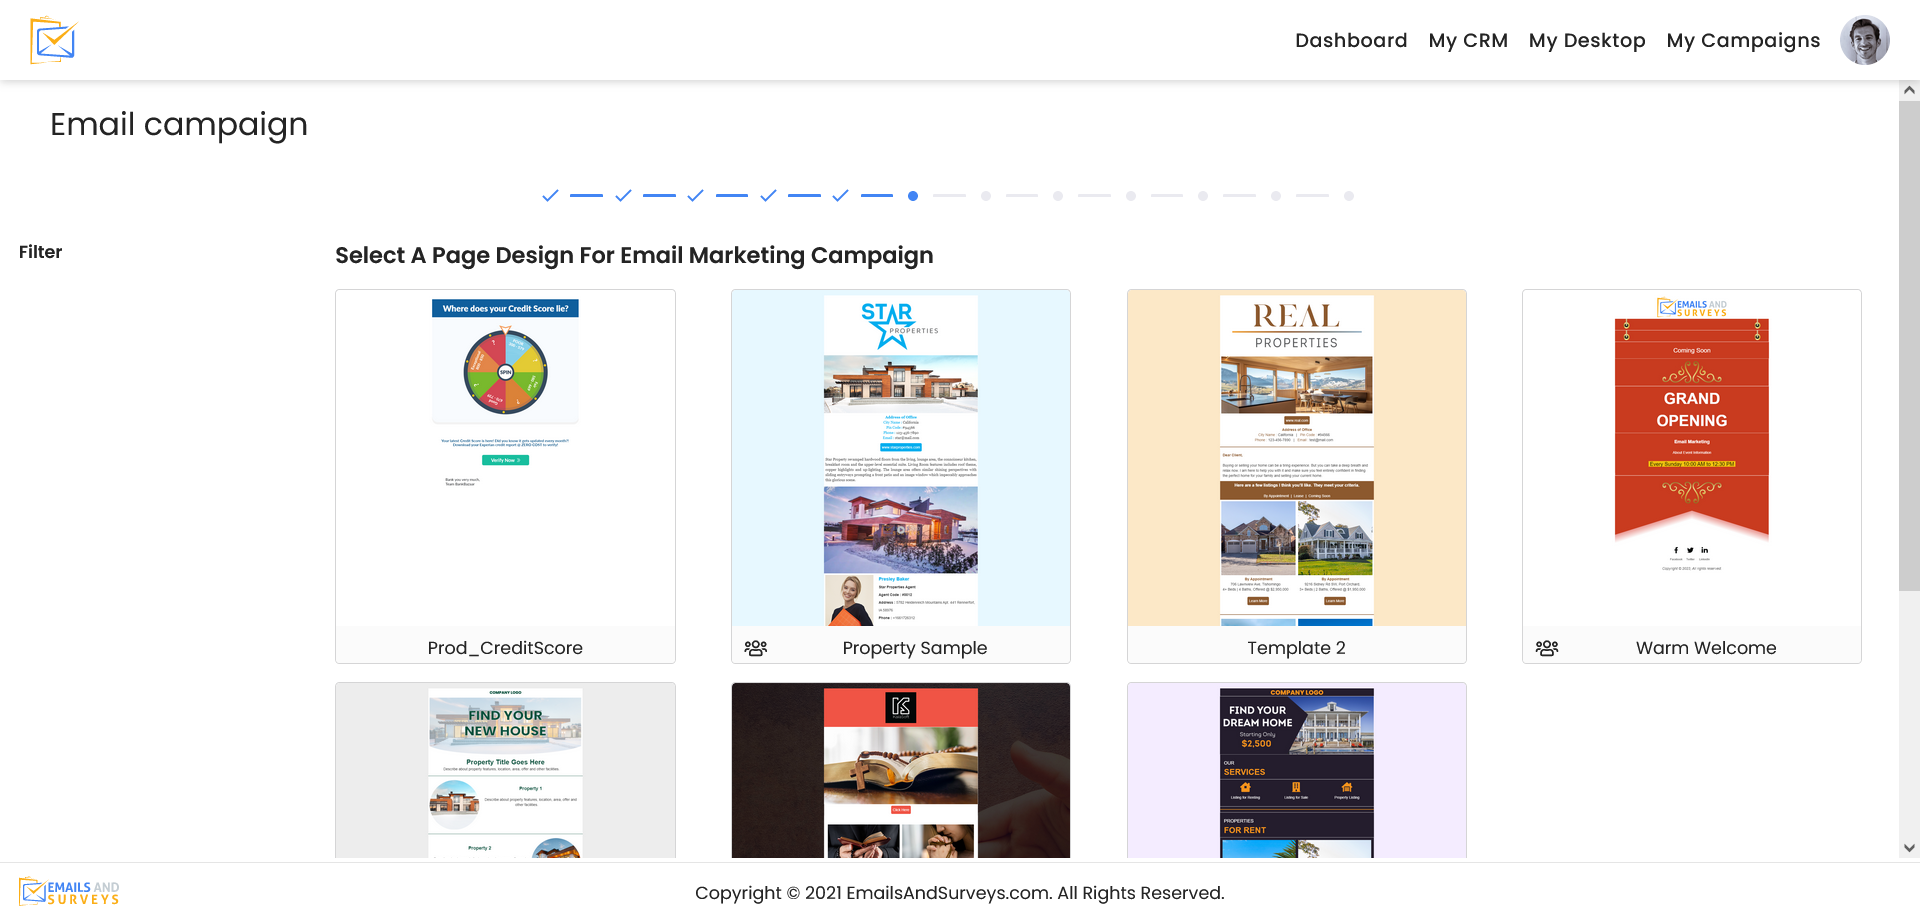
Select Your Template.
Step 6
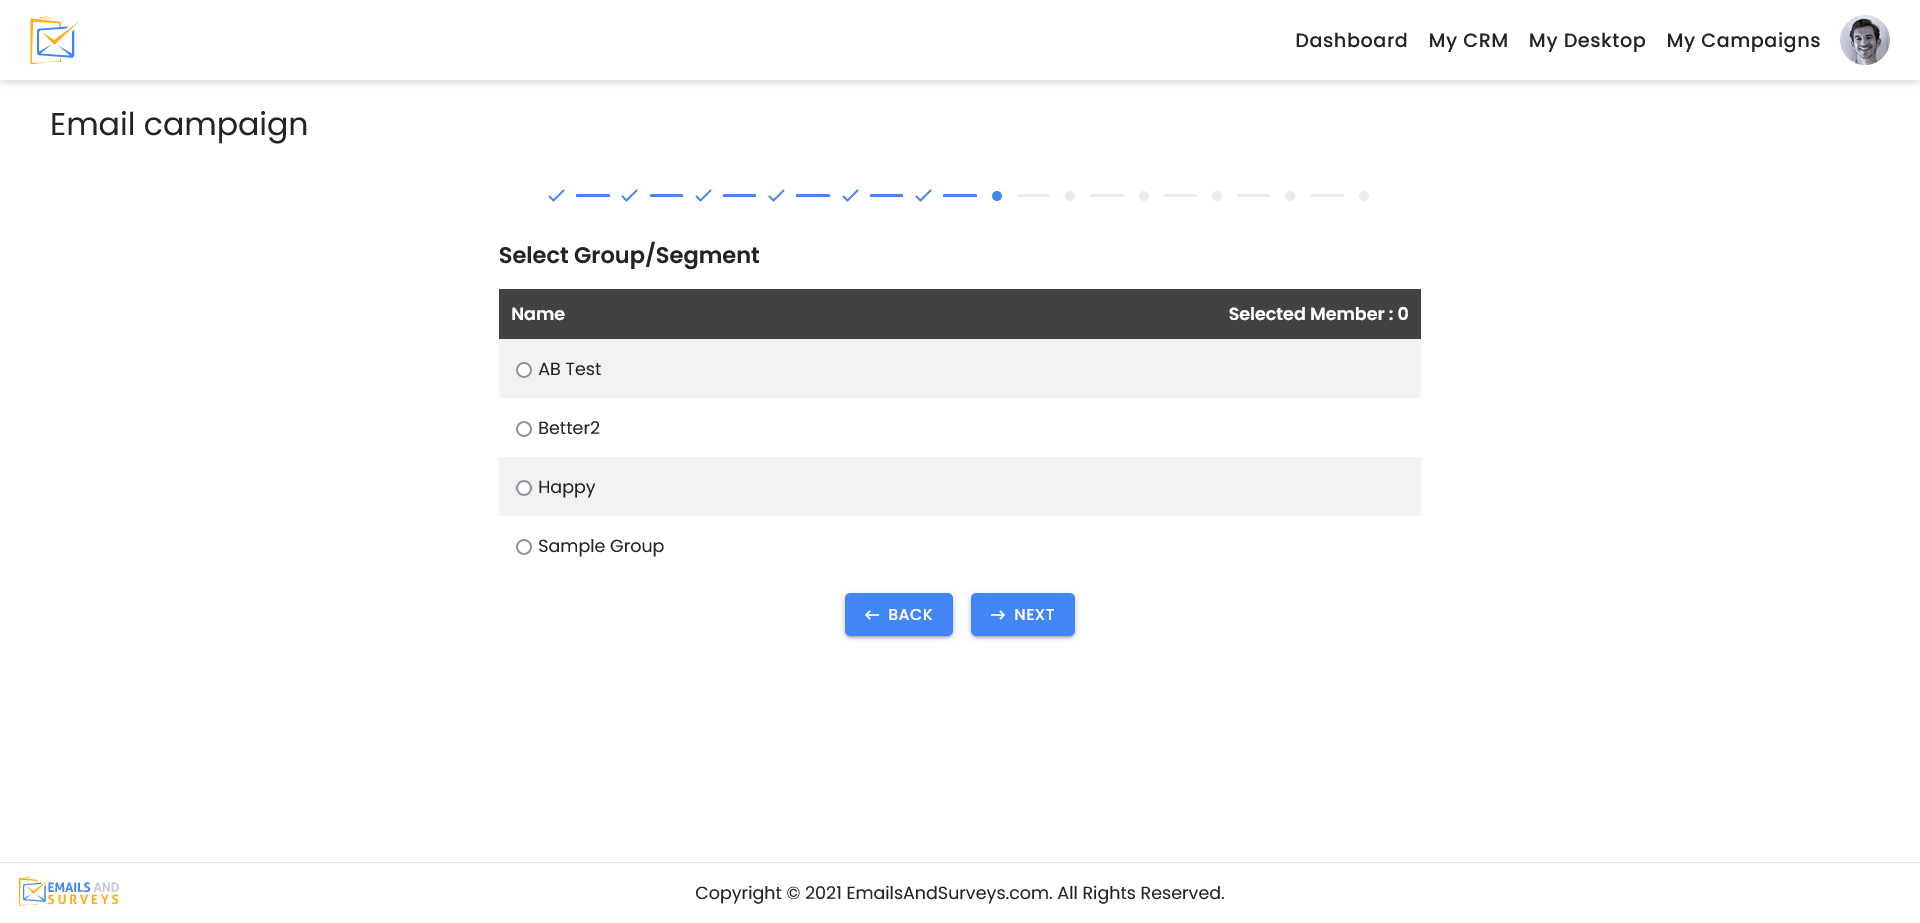
You can pick a group or a segment with in a group.
Step 7
Fill out your Email Header. You can use own domain or an internet email address. If you use a personal domain, it is highly recommended to set up the Trusted Domain Process to ensure your email does not go to a Junk folder.
Wee highly recommend your From Name is correct for Gmail and Hotmail accounts. Do NOT to get too cute with your From Name or Address. Be as authentic as possible. You also have the ability to personalize the subject line. If you type #, it will source filed in your contact list.
Step 8
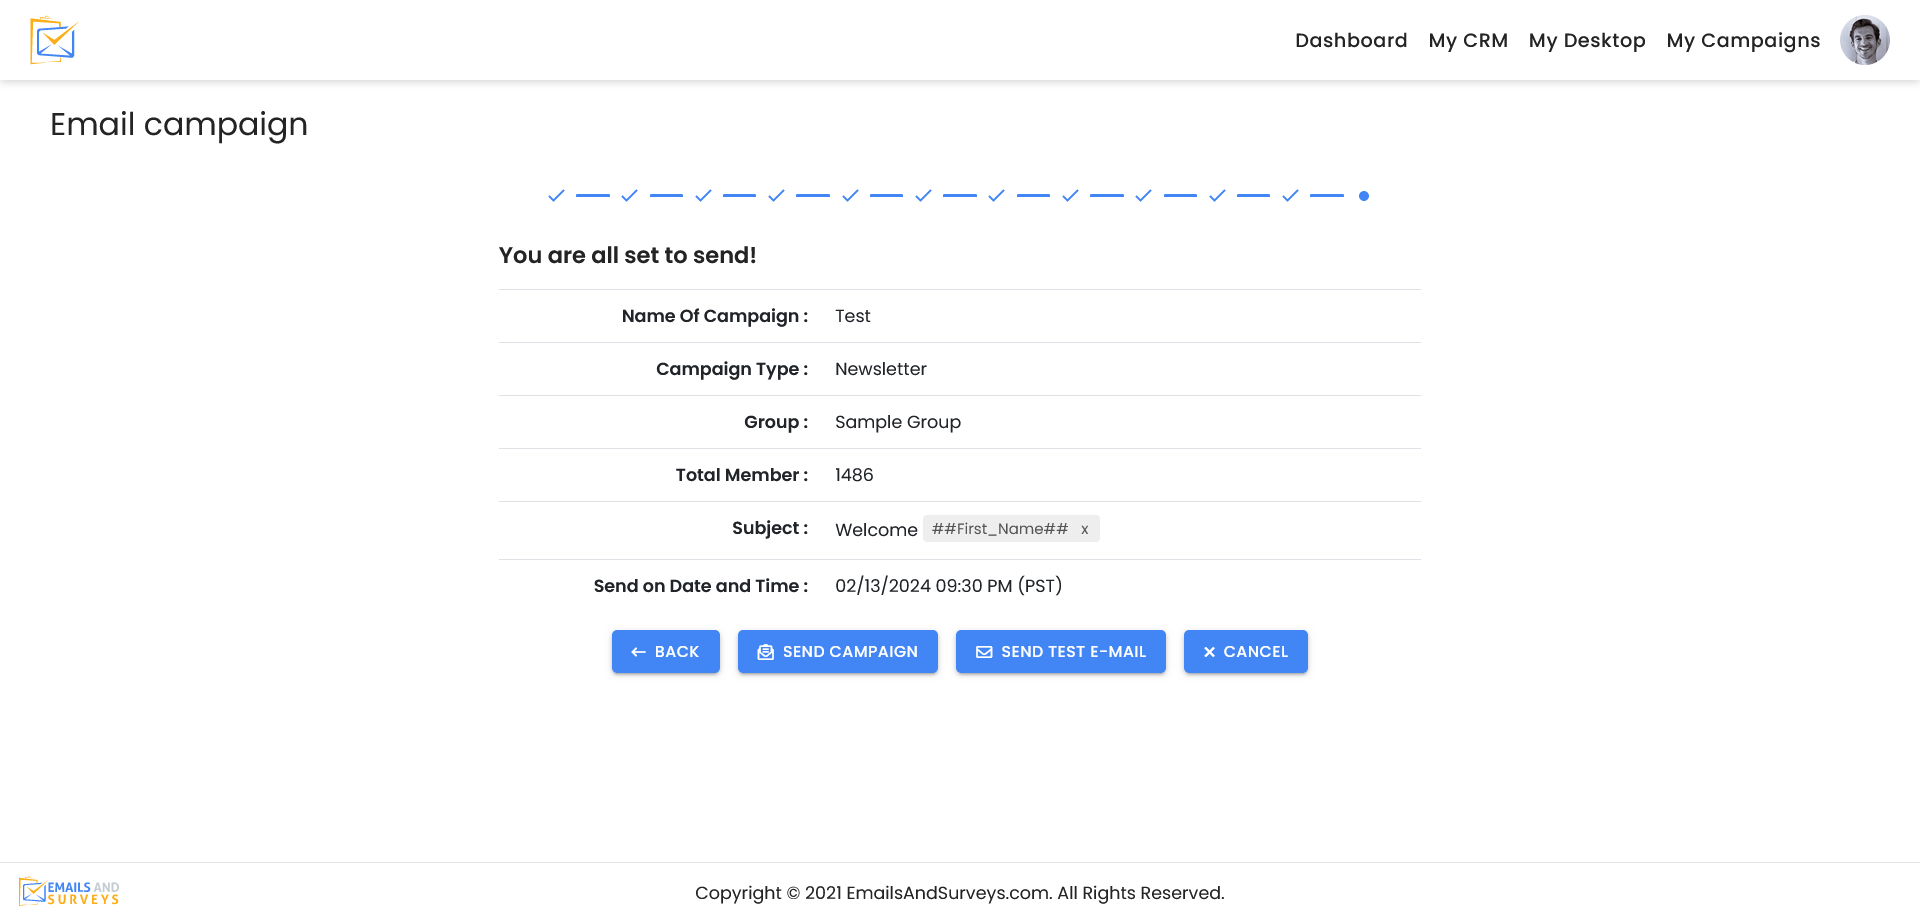
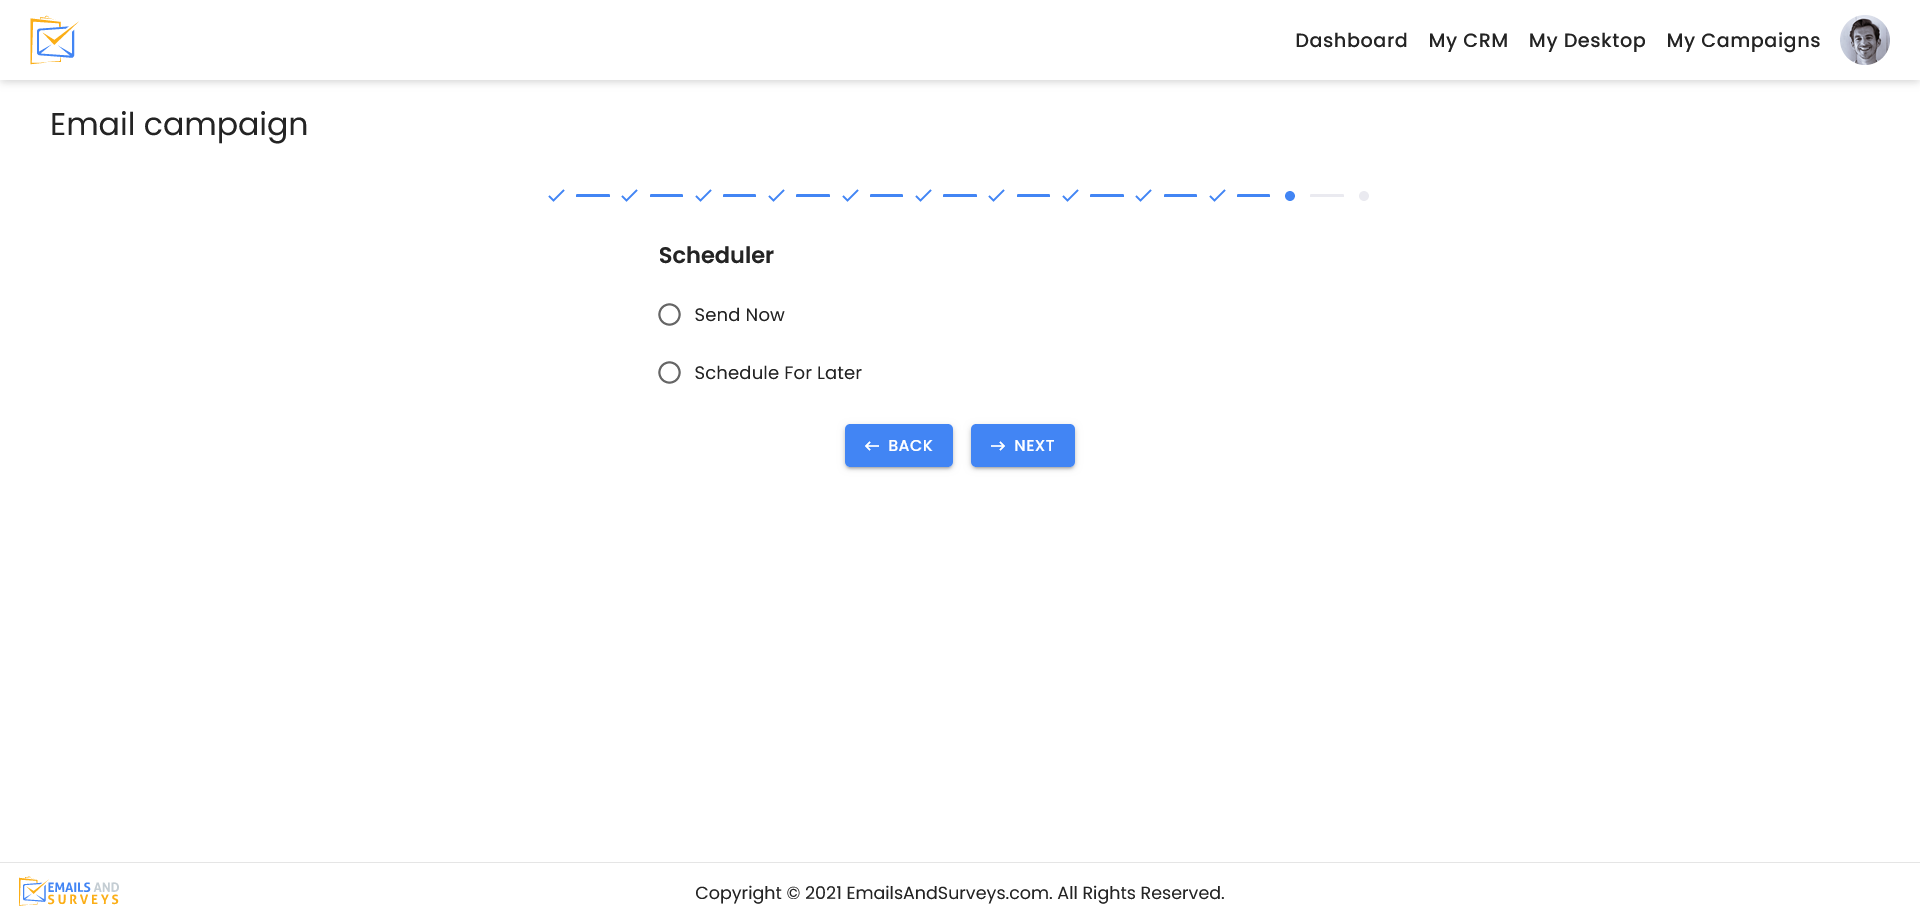
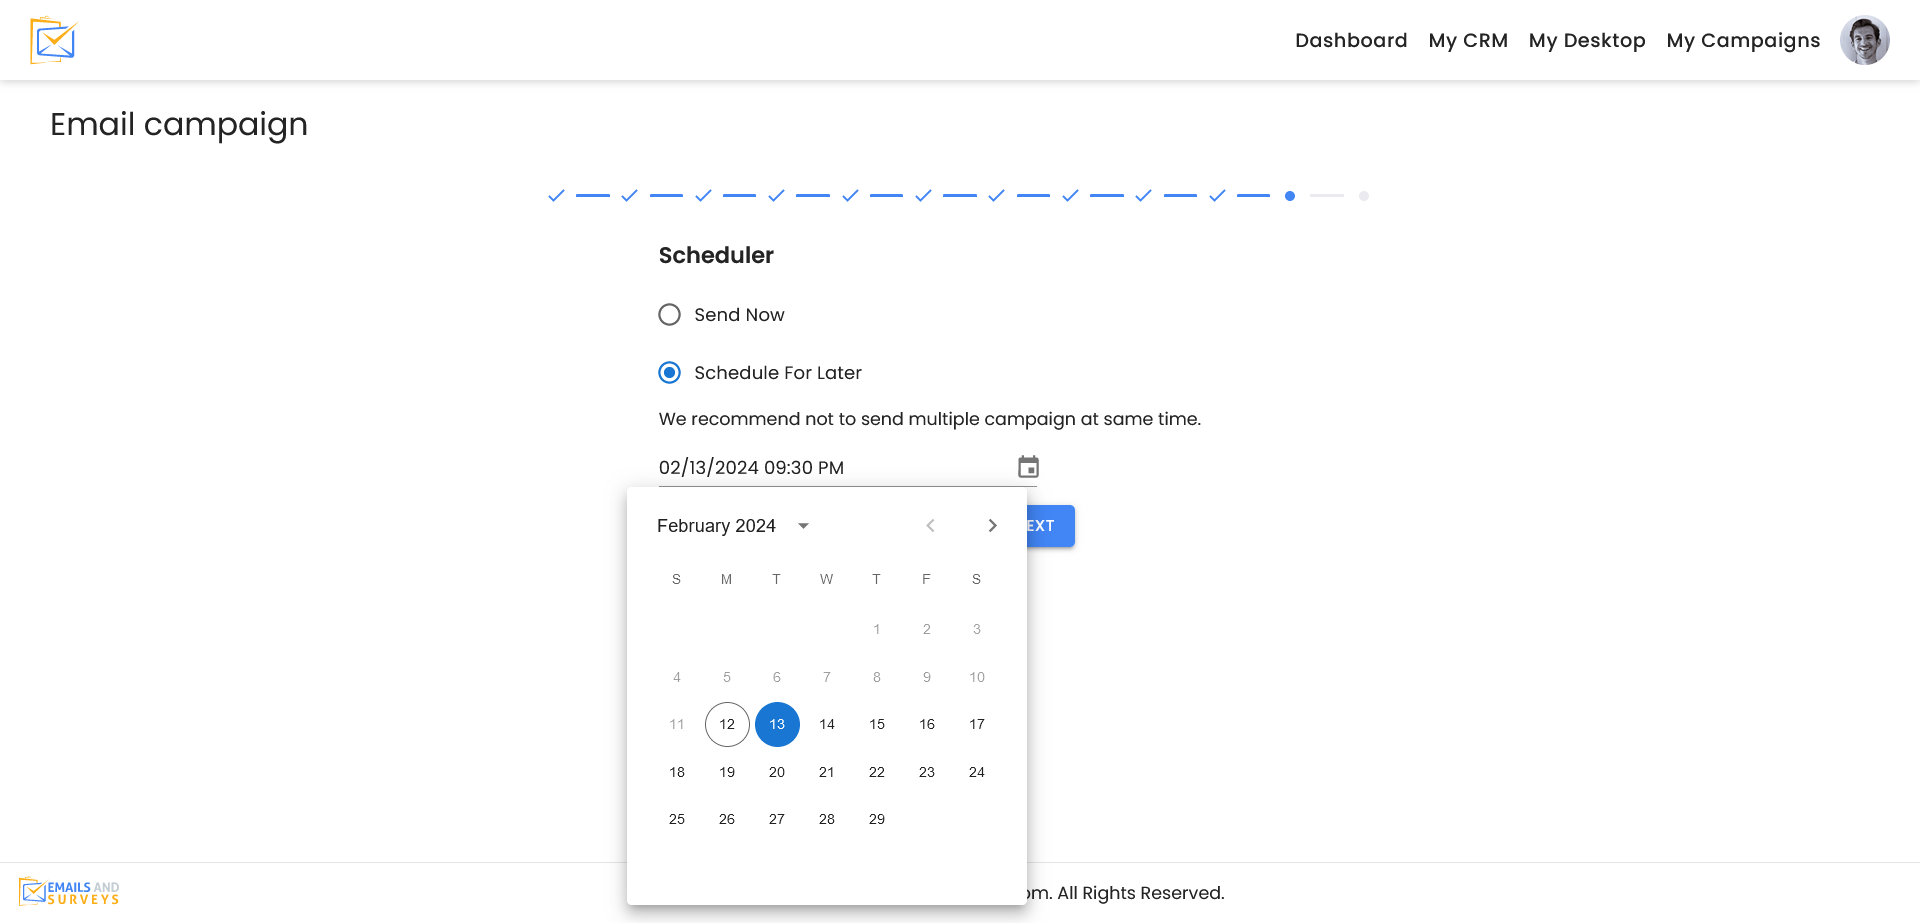
Once your email is ready to go. You can send it now or schedule it in the future. Drip Campaigns are coming soon.
Step 9
Step 10
You are ready to go. At this point it is highly recommend to send yourself a test email. The email will go to the account holder. Another best practice would be to create a small group of friendly people and segment your contacts into a Test Group.
