To create your for first Survey, navigate to My Desktop or click My Desktop > Survey Design. At EmailsAndSurveys all surveys are created as a template which will make them easier to work with if you want to change a Survey that is in use. You can follow this kbb article or take a look at the How To Video on our YouTube channel.
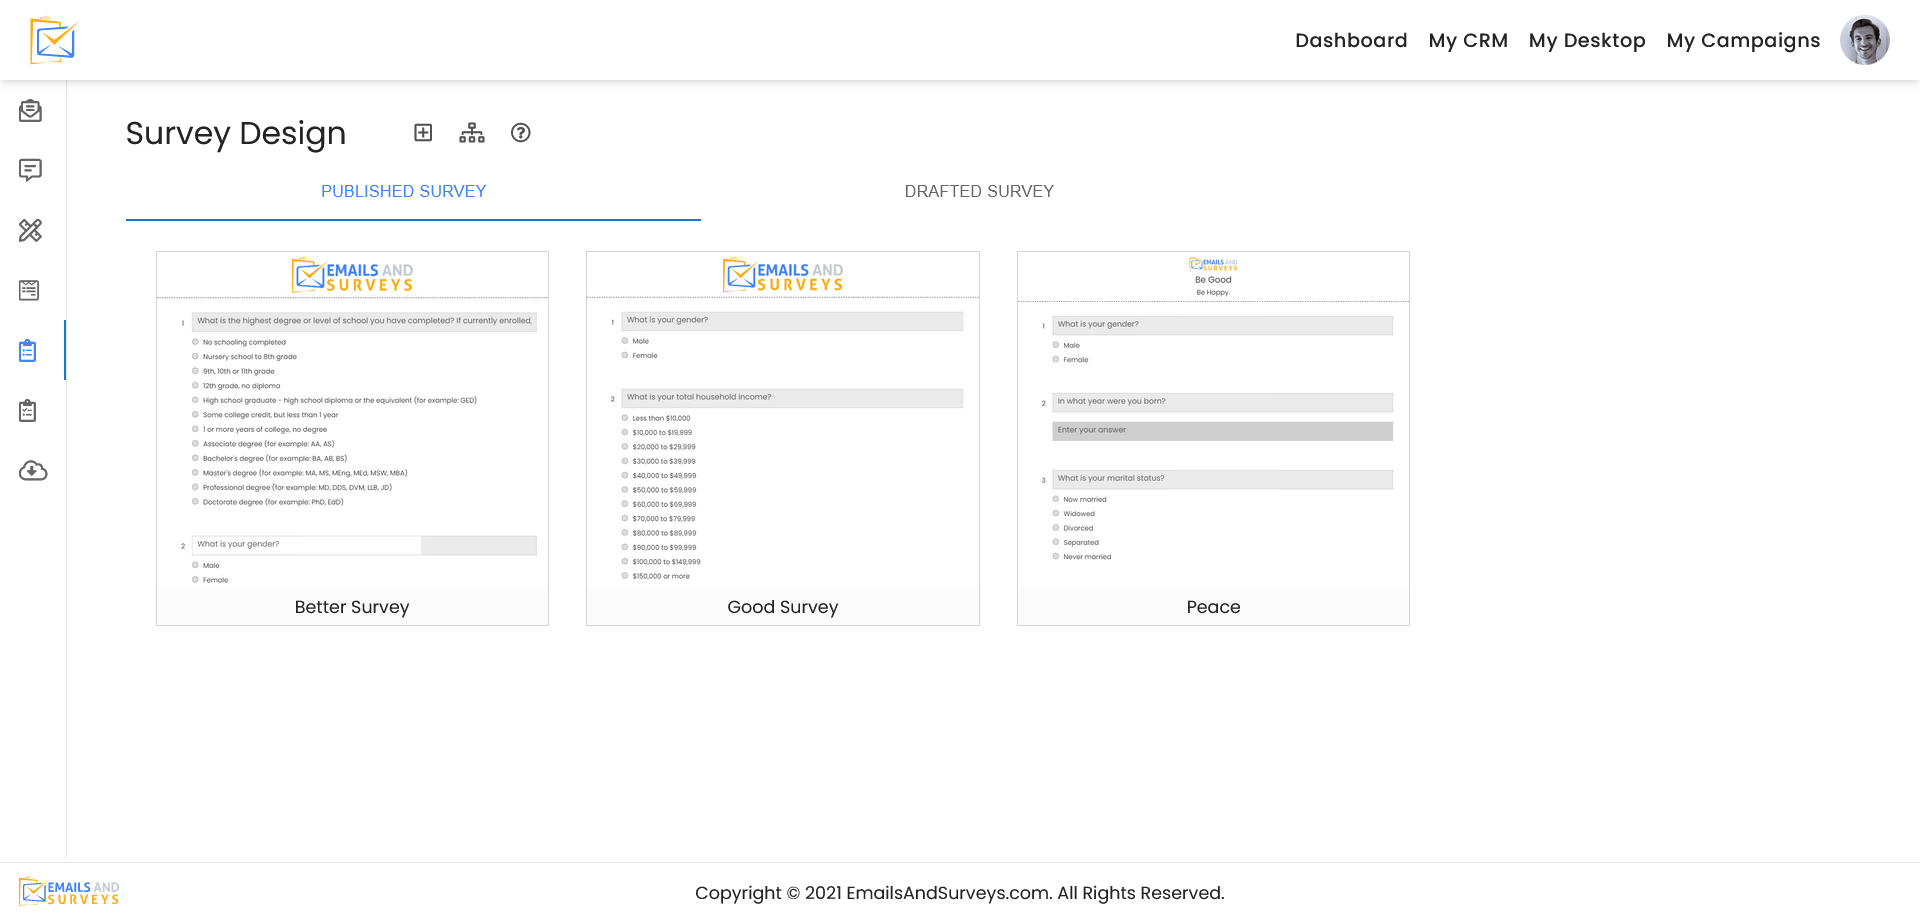
Step 1
EmailsAndSurveys supports the notion of a Survey Category. These will appear on a slider bar that presents the progress of the person taking the survey. Survey Categories are optional, but if you use them it is highly recommended to make them different colors. These colors will not show on your report, but help you organize your survey. Below you can see the Survey Categories EmailsAndSurveys provides and you may create your own.

Step 2
The next step is to give your Survey a name.

Step 3
We provide you with commonly used demographic questions. These are optional, but also help give valuable intelligence into your survey.
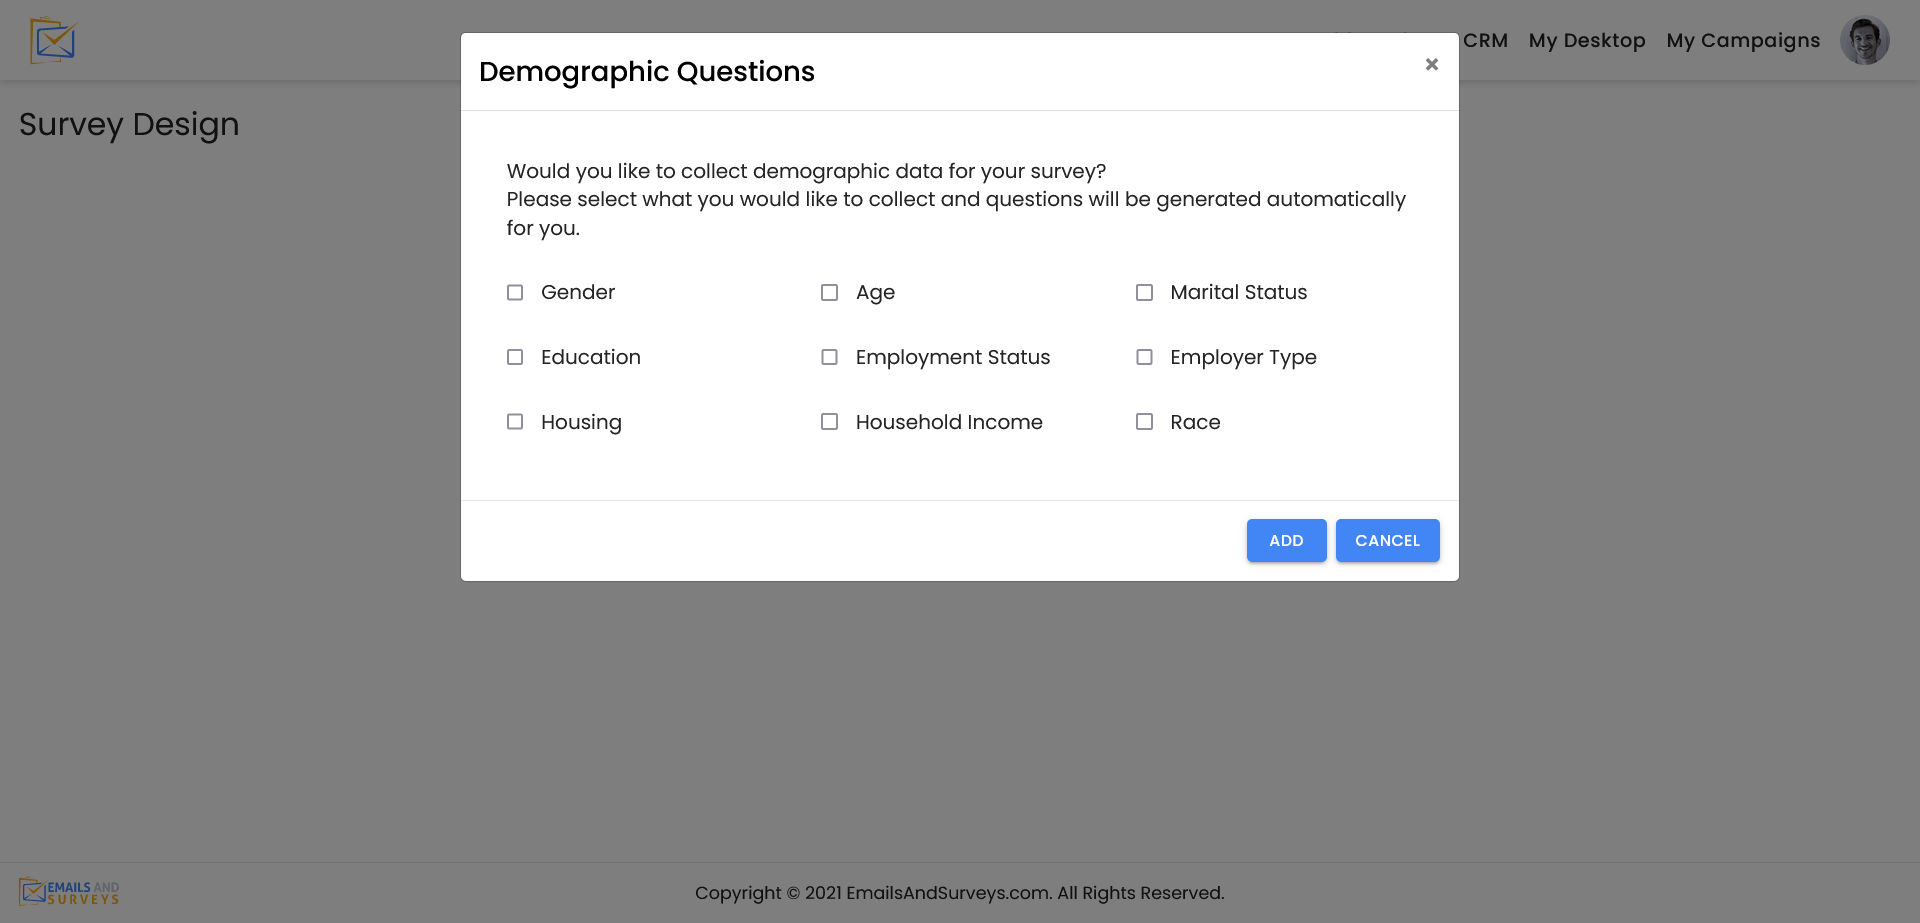
Step 4
Next, you need to decide if you would like to have a one-page or multi-page survey. If you click the + icon you will be given the opportunity to add a new Survey Page or a Landing/Content Page to be placed in your survey. To delete one of these pages, use the trash can on the right. On the Editor Palette, you will see a wheel cog that has Page defaults for background, text, border, margin and padding. The available survey blocks will be available to you in the next section and the thumbs up icon has Social Media options for your Survey. You will have full control of the Survey to brand the look in feel according to your web presence.
Note that is highly recommended you save your survey frequently so you do not lose any work.
You may want to take this time to watch the video "How To Use the Editor" in the upper right hand corner,
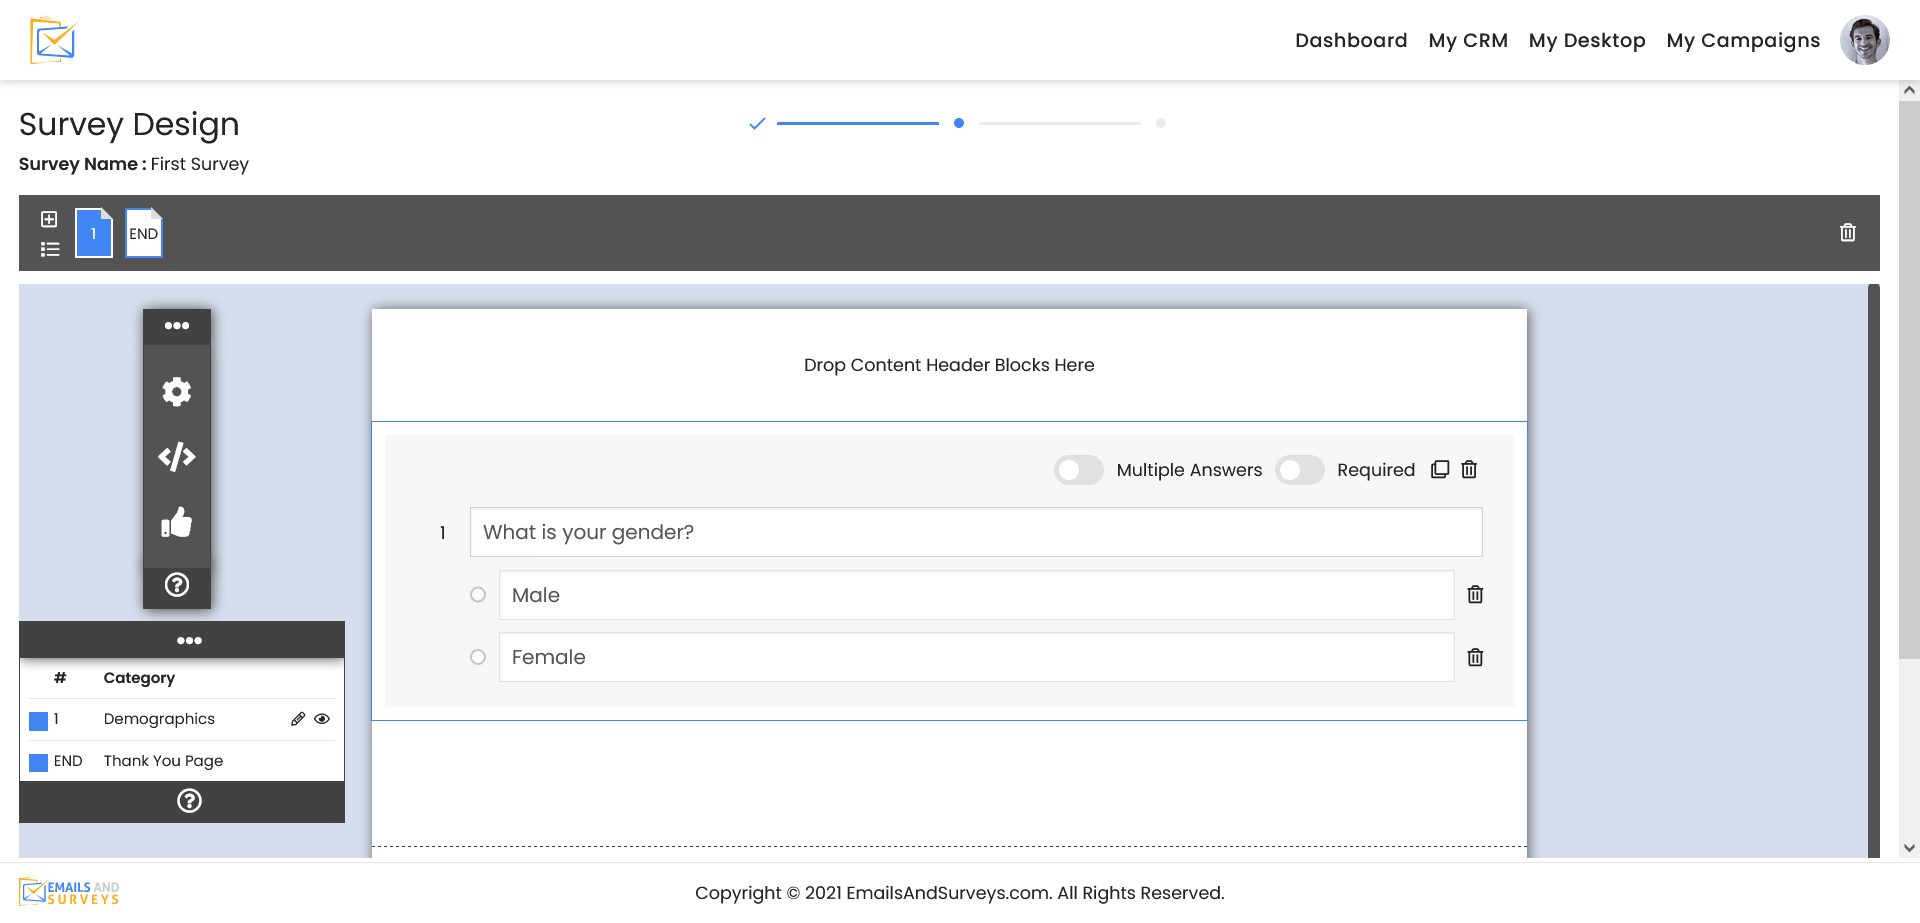
Multi-Page Settings
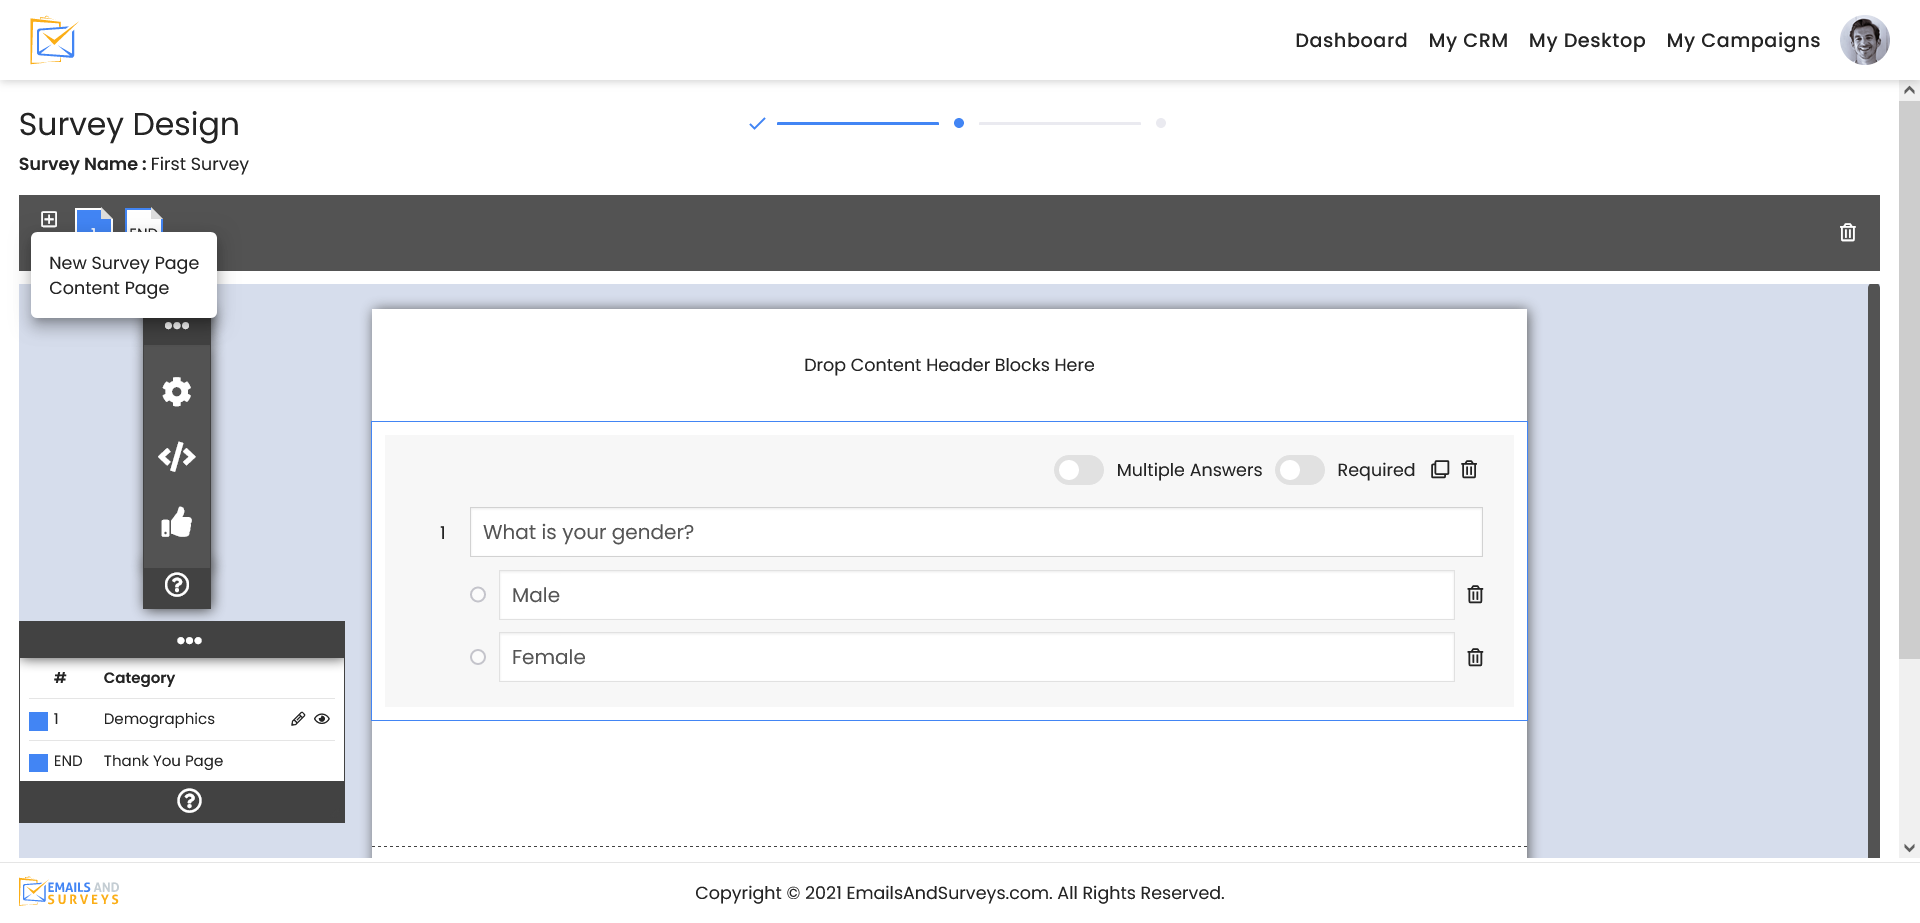
Step 5
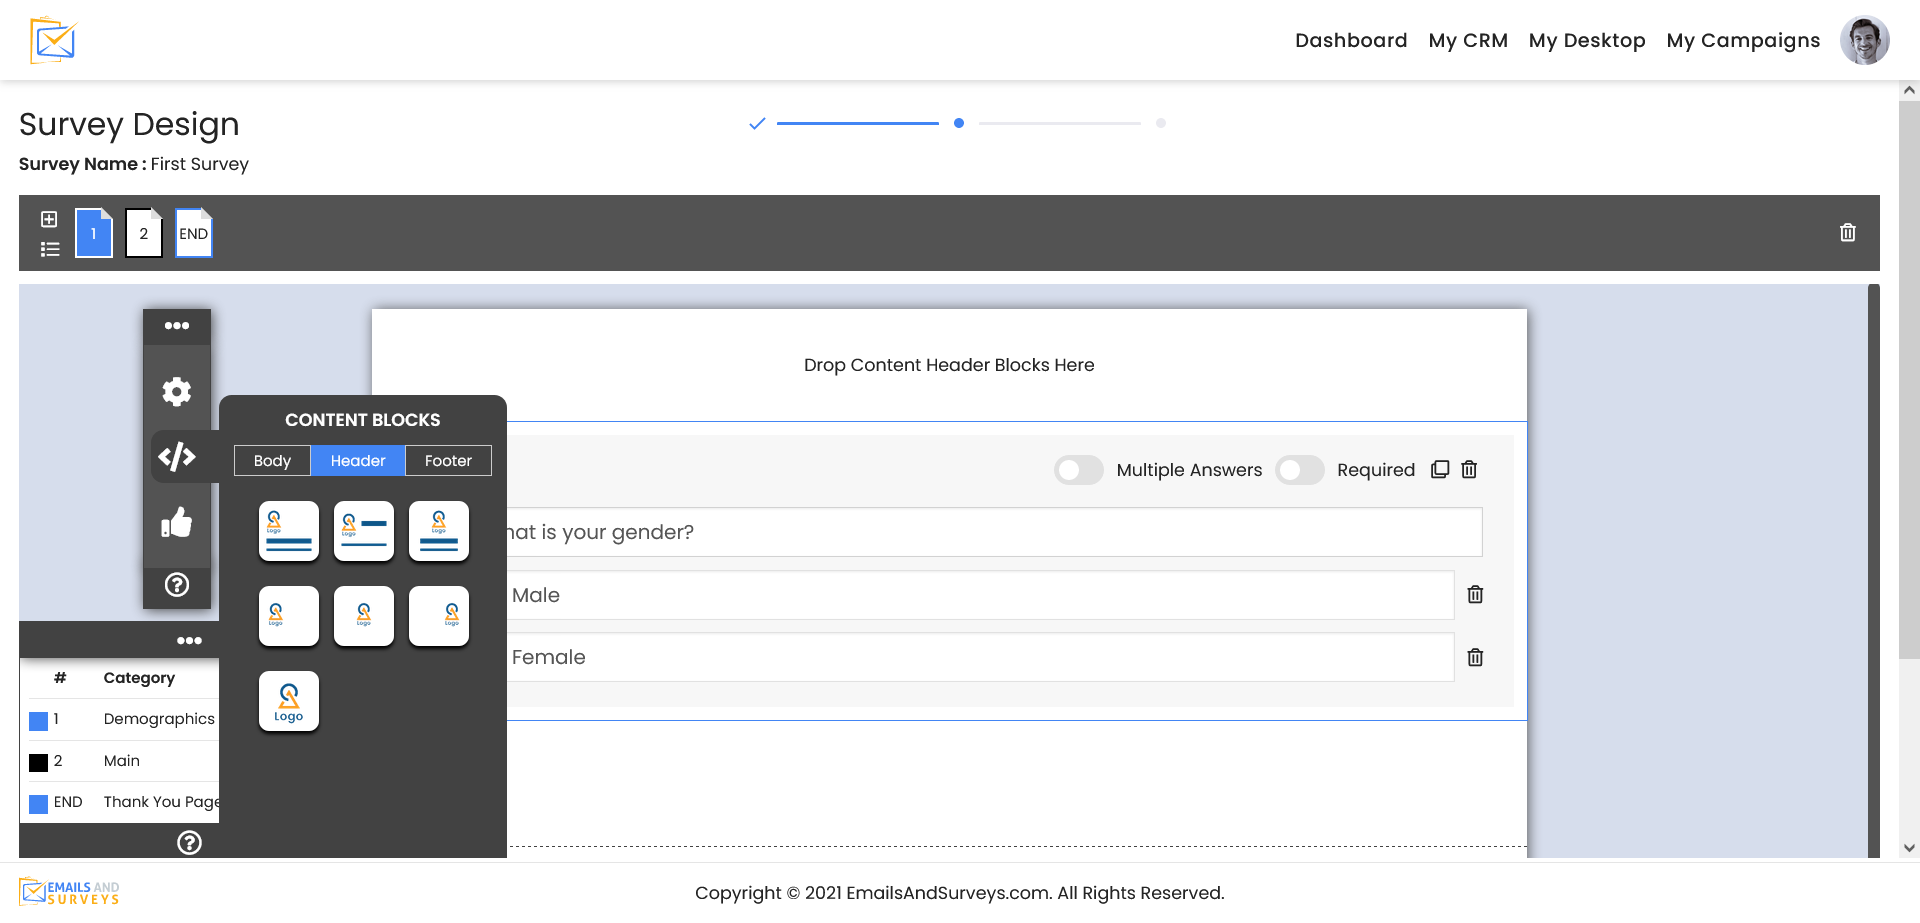
The next step is to define the header and footer of your Surveys. Pick a style that you like and set your image and any text that may be required. You will be taken to My Drive where all your images should be uploaded. You will be given the opportunity to change image settings to fit correctly in your Survey. If they don't, just edit the image and resize it in My Drive. There is an attached article on how to use My Drive.
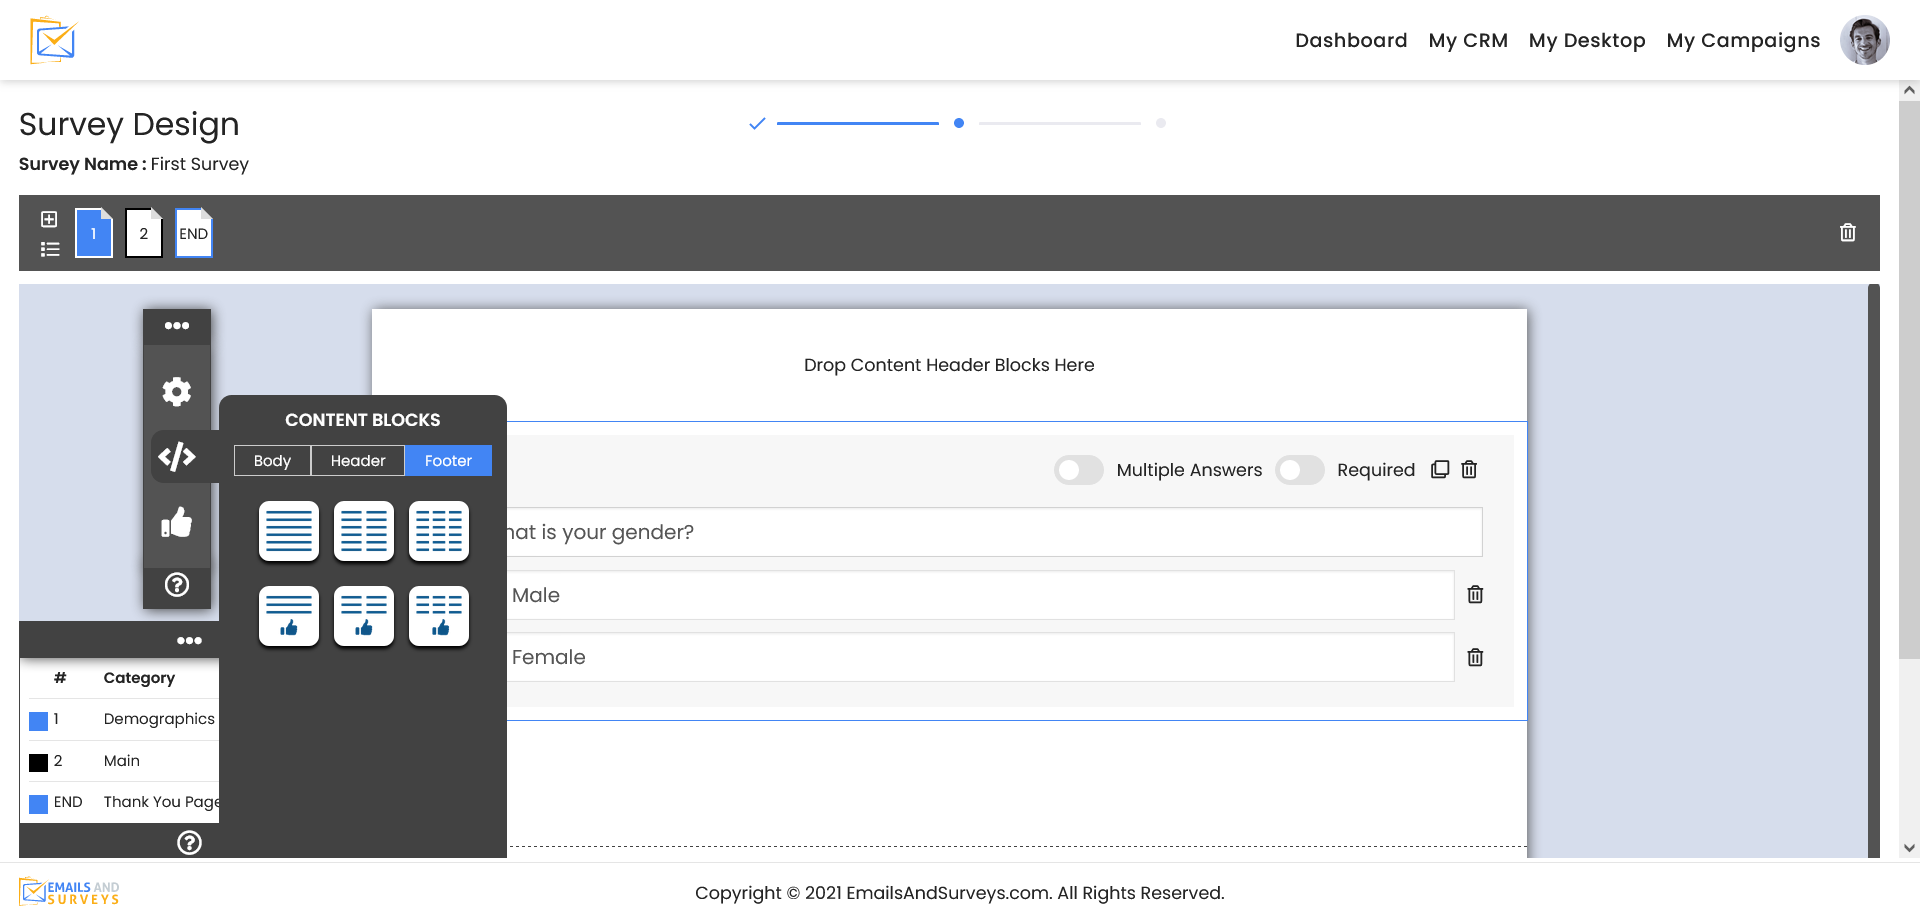
And your footer. EmailsAndSurveys always encourages our customers to put links and Call To Action to your Social Media Pages.
Step 6
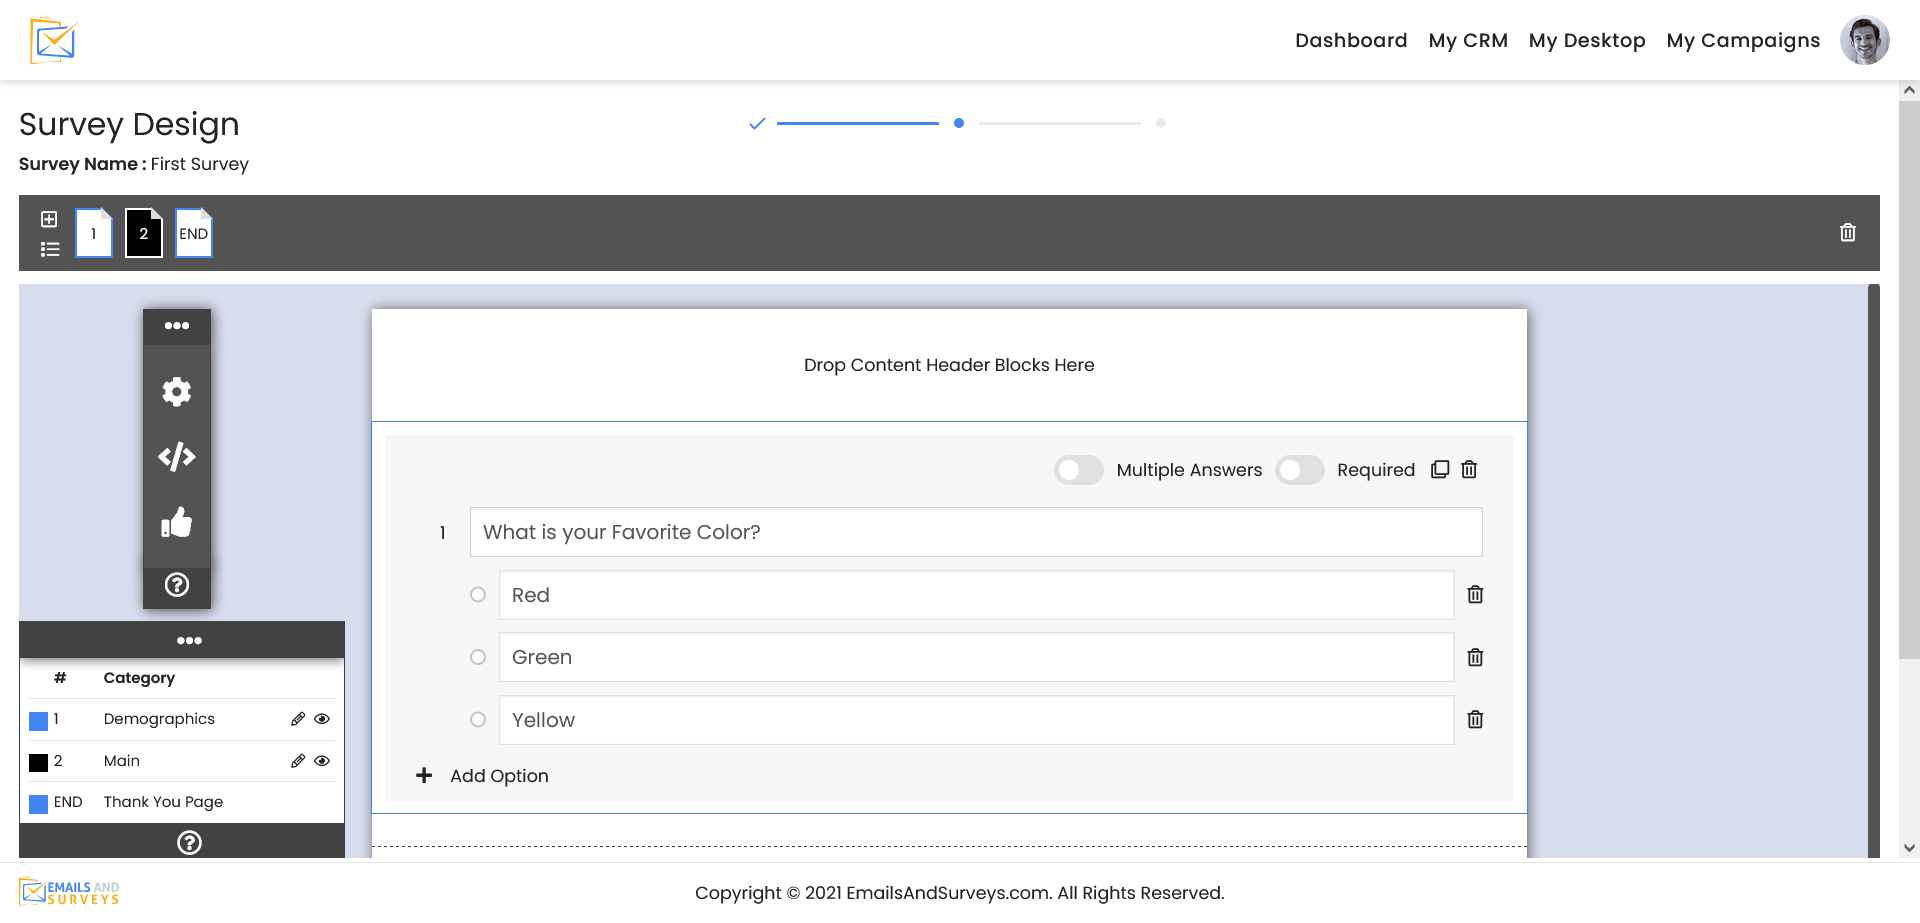
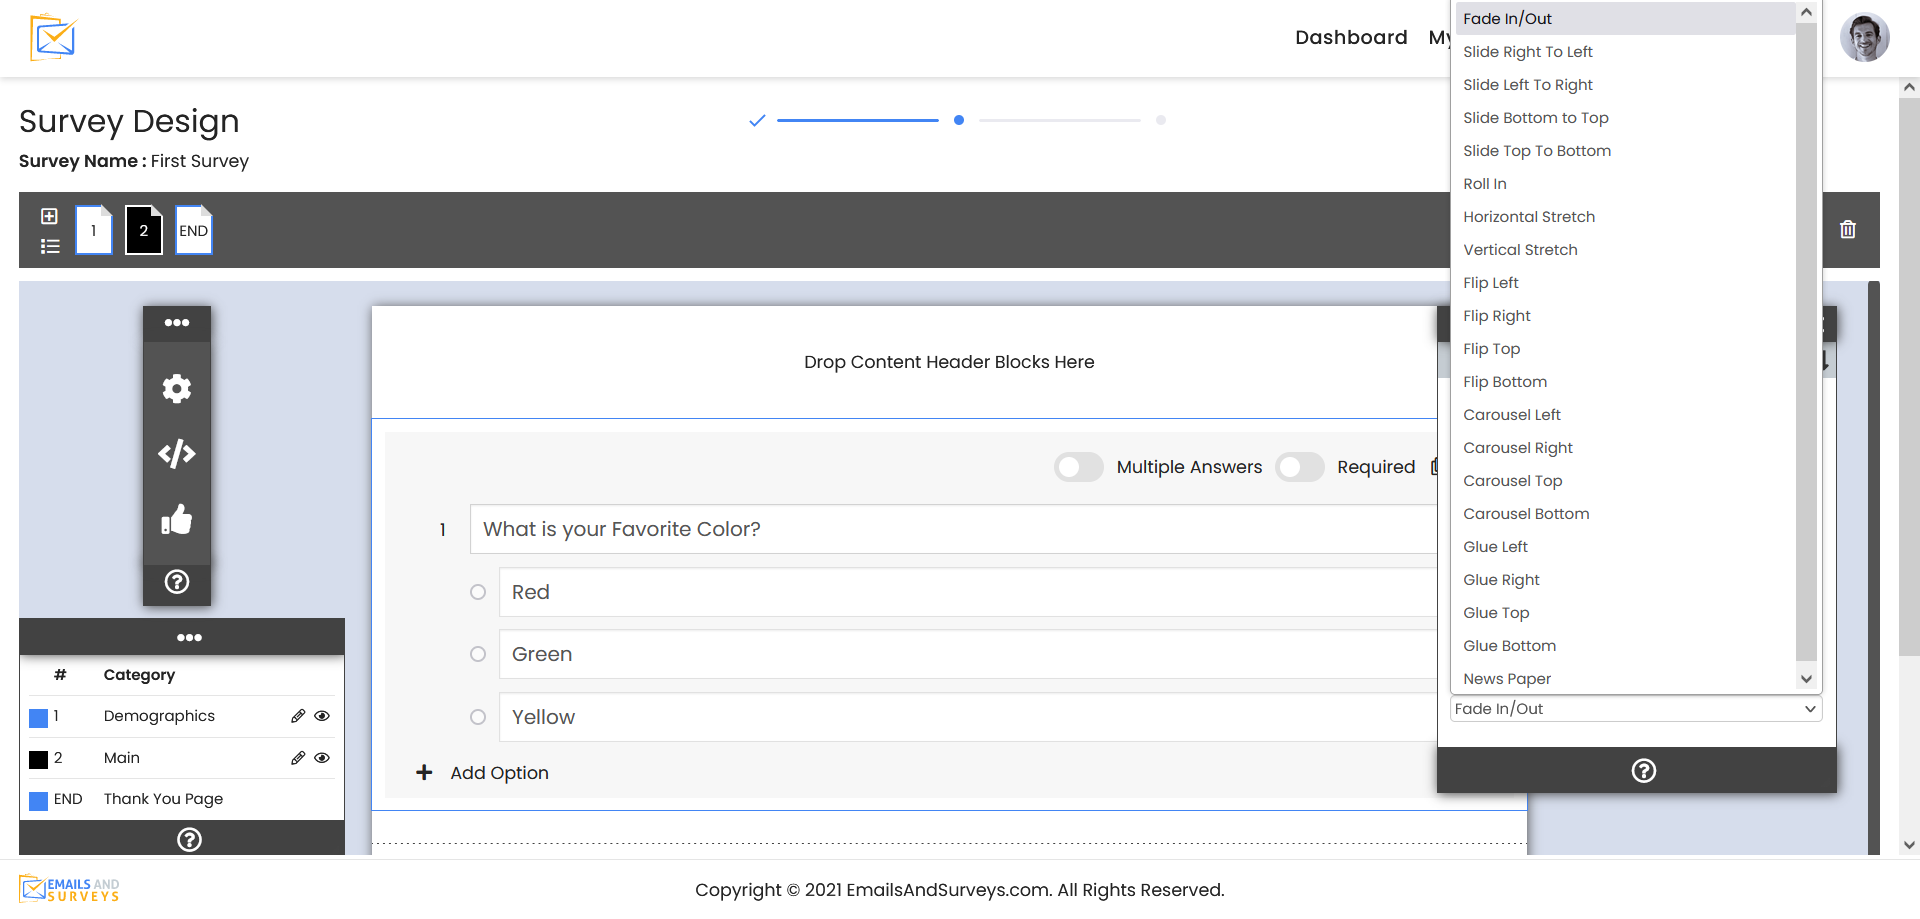
We support 21 different question types. These include the ability to have a button for a single answer, multiple answers, matrix and new modern questions types. Take time and play with them. Respondents will fill out an engaging survey. In the example below, we are asking the respondent their favorite color and added a few possible answers on Page 2. You can also clone a block or delete a block by clicking the trash can.
To make your Survey fun and engaging, EmailsAndSurveys allows you to have different page effects for how Questions and Pages are rendered. Take a look at these effects and see if you would like to use one of them by click the block to set Block Settings.
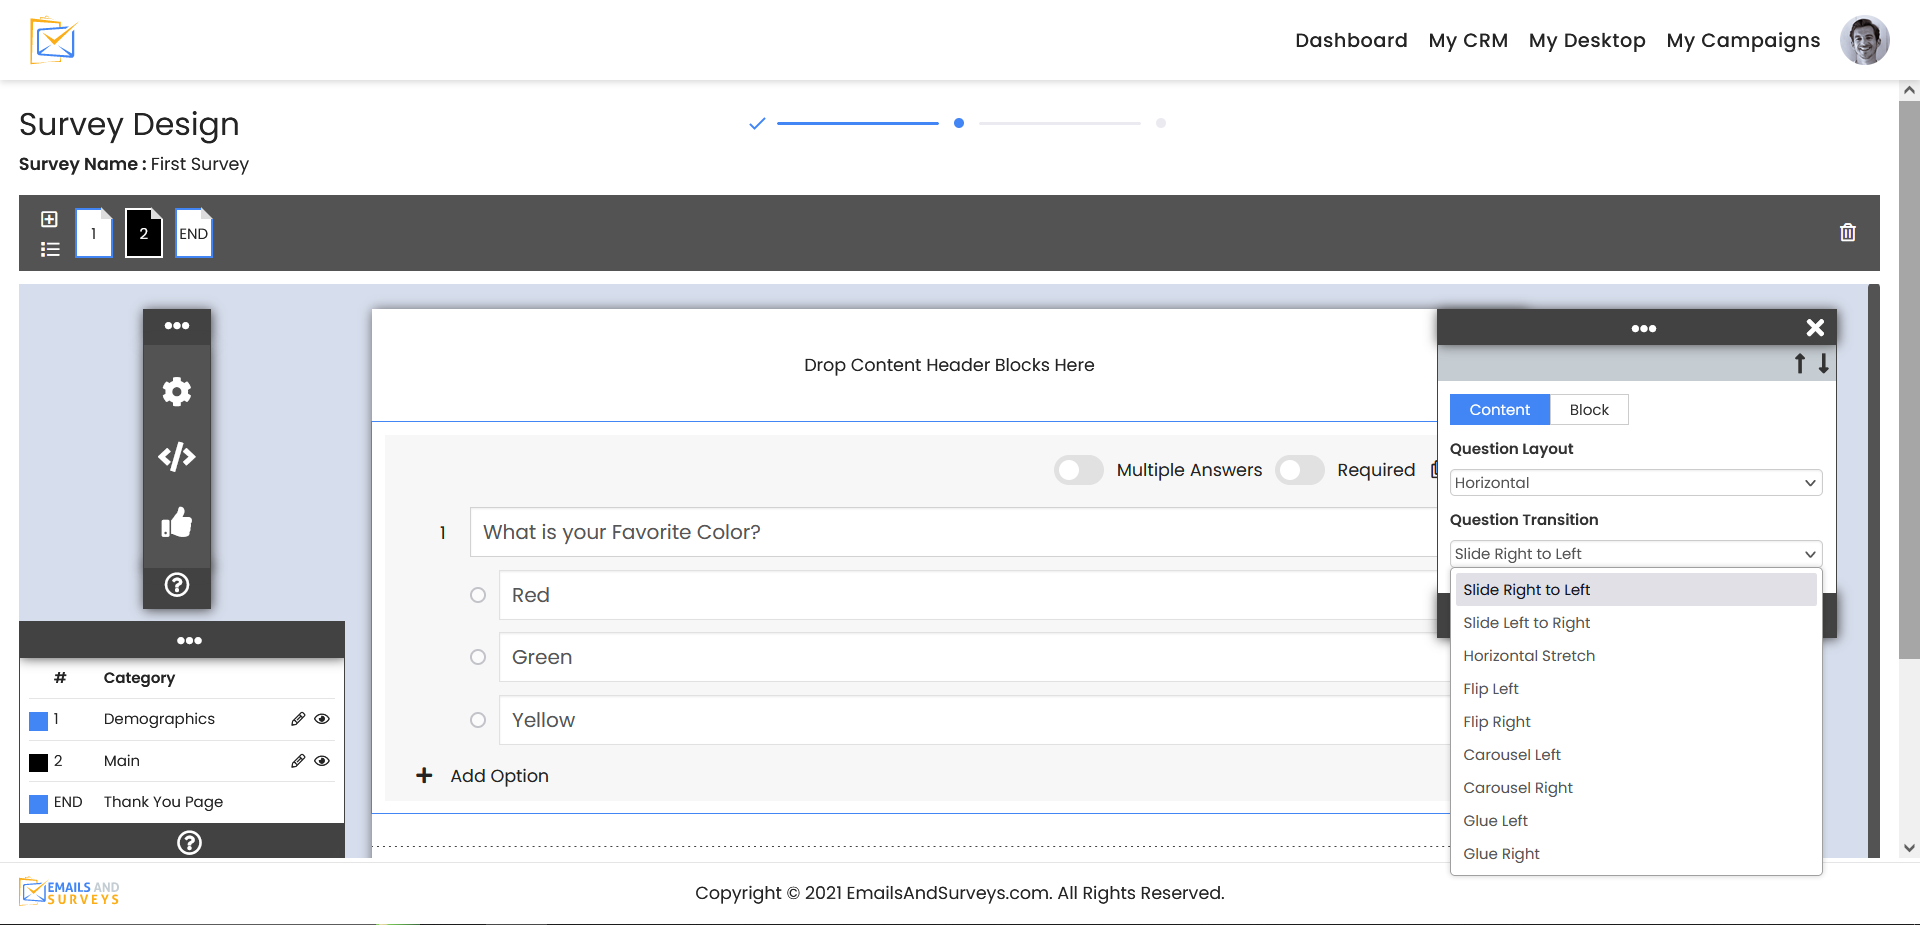
You also have the option to set images and with your questions and set how the question should transition.
Step 7
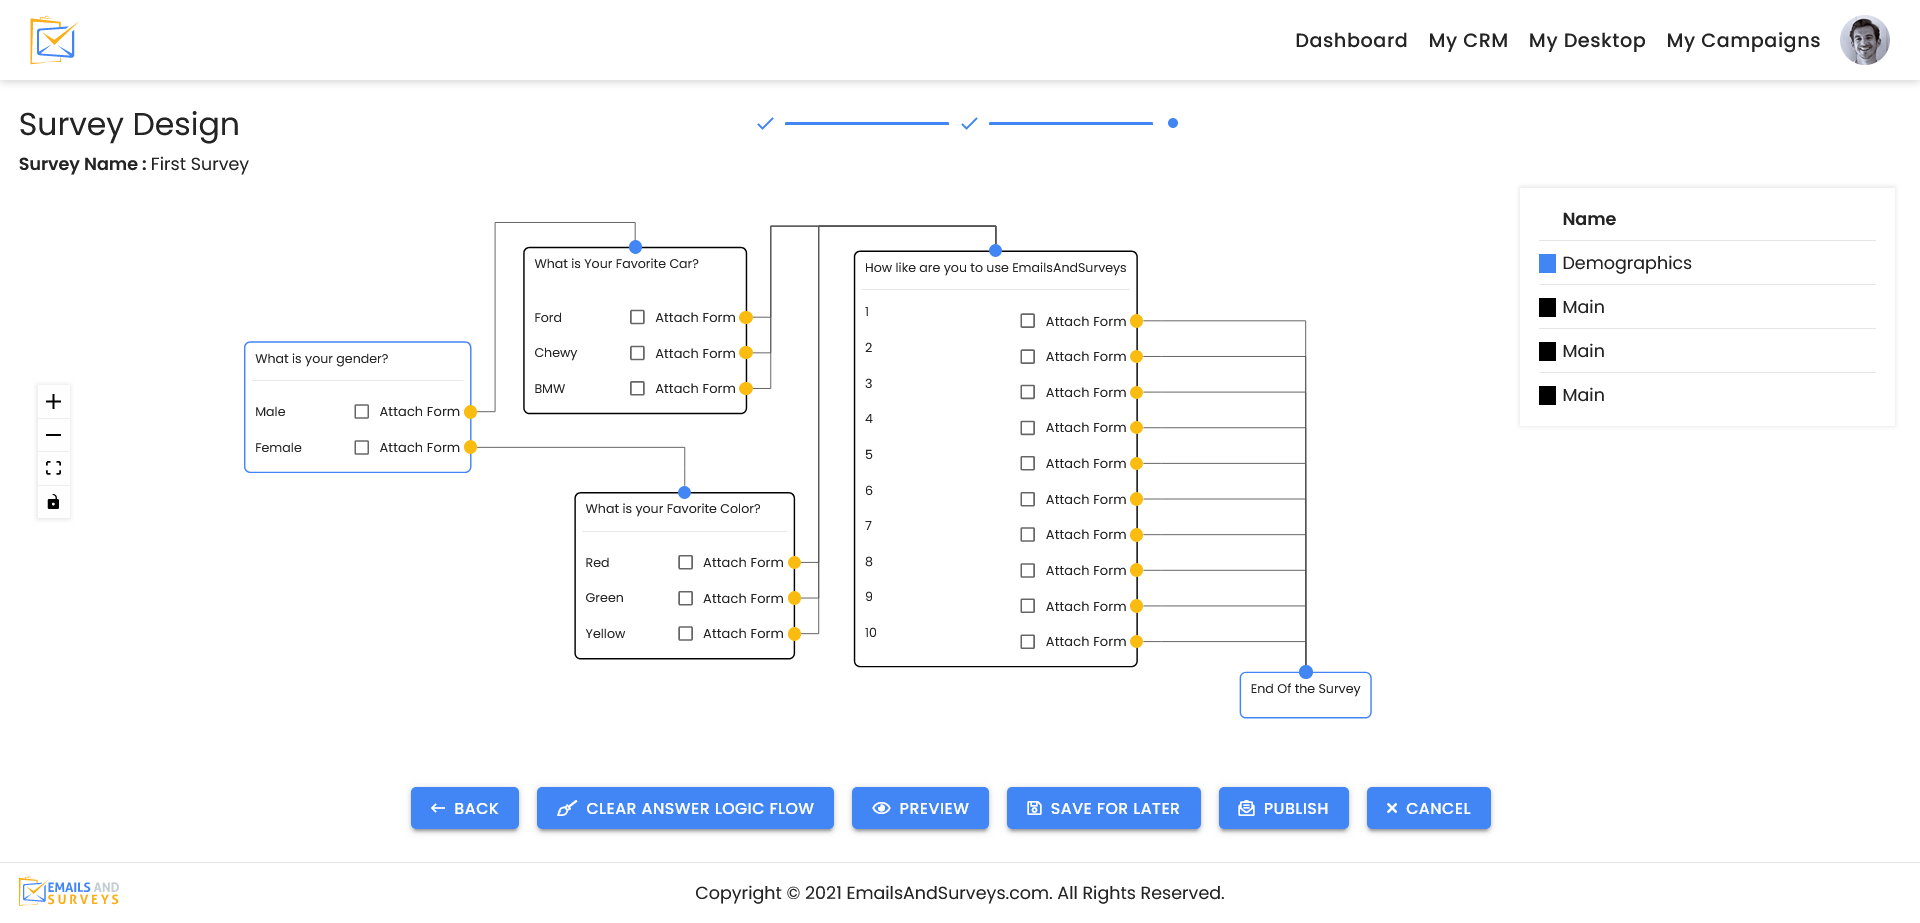
You can create a condition flow to your Survey in EmailsAndSurveys. To change the flow, go to the top question and drag the line to the question that should flow. In the example below, men will get one set of questions and women will get a different set of questions. Once you have set the flow of your Survey Template. It is ready to be published and sent! To learn more about skip logic, please see the attached article setting Question Logic Flow
Please see the article on how to Publish your Surveys as a next step.
Click Here to Watch How to Create Survey in EmailsAndSurveys